
Xero invoice settings
Send paid appointments to Xero automatically, marked paid — map the accounts, filter what syncs, and use the one-click setups most owners miss.
Updated 3 June 2026
Stop typing your daily takings into Xero by hand. Once you map a few accounts here, every paid appointment flows into Xero on its own — as an invoice that's already marked paid against the right bank account, so there's nothing to chase at month-end.
You'll find this at Pay → Integrations → Service Invoices; the page is titled Invoice Sync Settings. Set it up once and you're done.
Open in app: Service invoices
If you'd rather be walked through it, the page header has three built-in guides — Set up invoice sync (3 steps), How payments flow into Xero, and Common questions — that open as pop-ups with worked examples.
Connect Xero before anything else
Until your Xero connection is live, this page has nothing to map and every account list comes up empty. Set up the connection first in Xero integration, then come back here. Everything below the master switch stays dimmed until syncing is on.
Turn syncing on (and pause it safely)
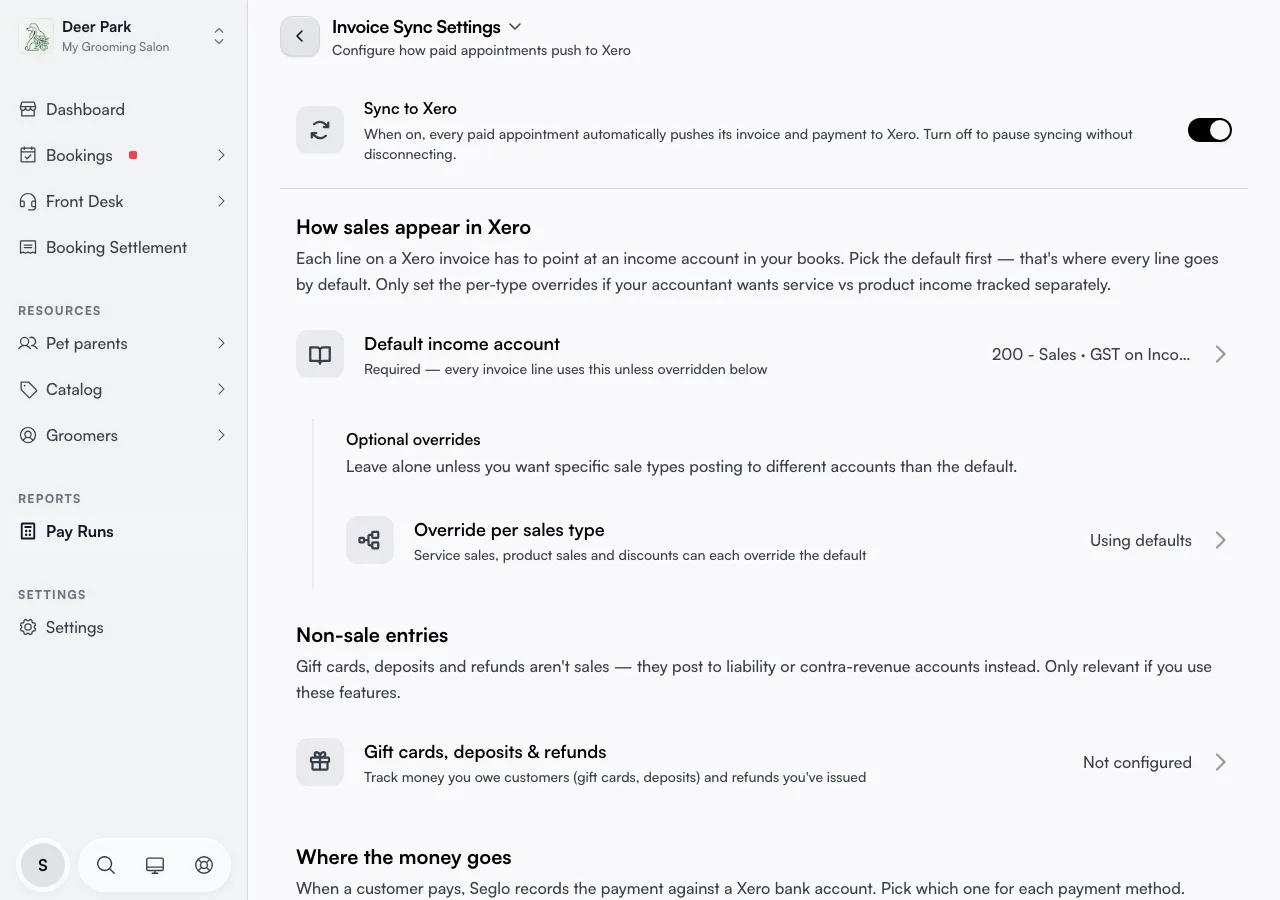
The top row, Sync to Xero, is the master switch. With it on, every paid appointment automatically pushes its invoice and payment to Xero. Turn it off and syncing pauses while your Xero connection stays fully intact — flip it back on whenever you like.
Turning it off pops up a confirmation, because a quietly disabled switch is exactly the kind of change that has a bookkeeper calling a week later asking why nothing synced. The dialog also reminds you that while paused you can still re-sync individual appointments by hand from the Sync Issues page.
Point your sales at the right income account
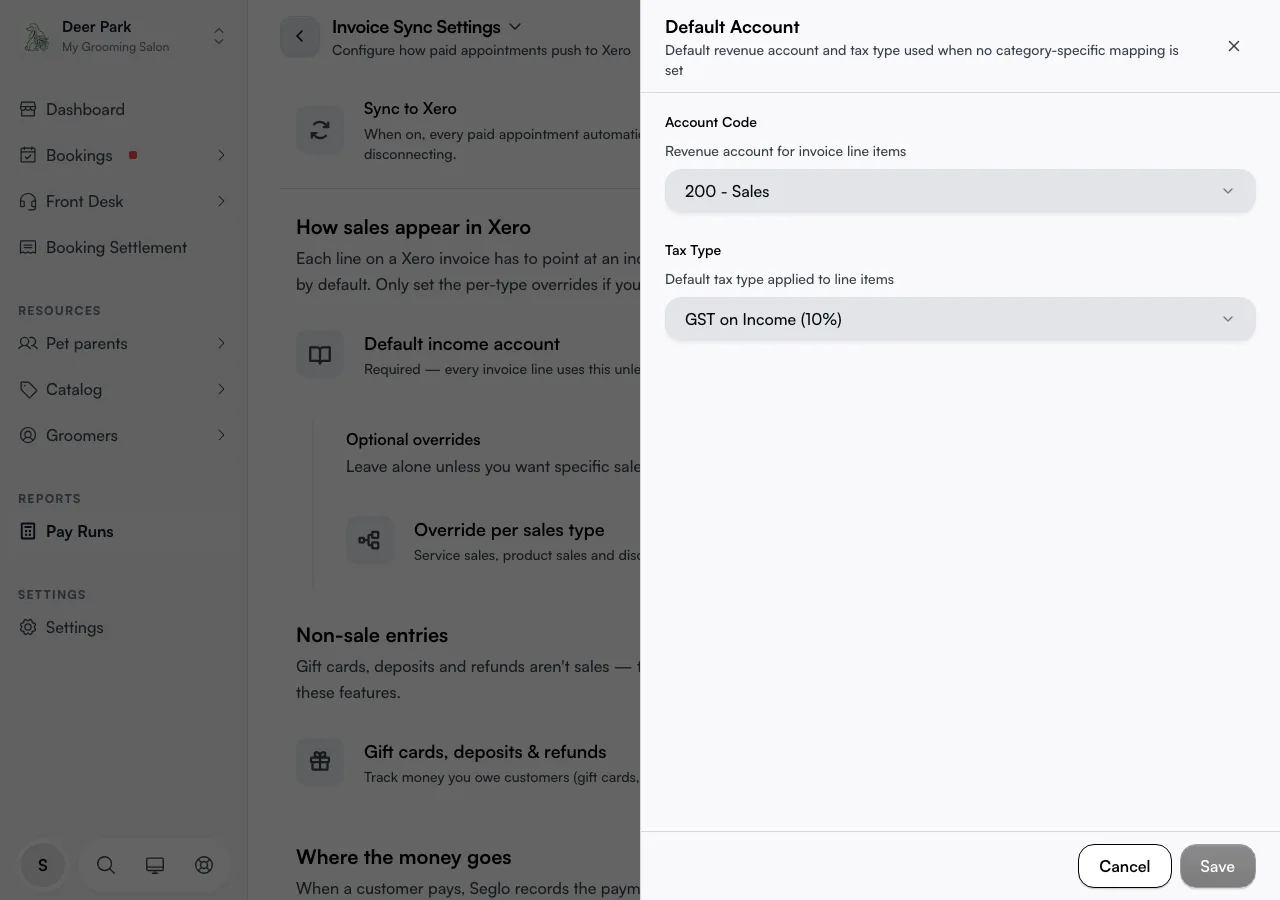
Every line on a Xero invoice has to land in an income account in your books. This is the one mapping that's required — get it set and you're already syncing.
Open Default income account, pick the account every line should post to (often 200 - Sales), choose its Tax Type, and save. When you open this page Seglo reads your Xero chart of accounts and your tax rates, so the dropdowns already list everything by code and name — for Australian businesses the tax type is usually GST on Income, or leave it blank if you're not GST-registered.
Split service, product and discount income (optional)
Most owners can skip this. But if your accountant wants service revenue, retail product sales and discounts tracked in separate accounts, open Override per sales type (it sits visually nested under the default). Each of the three — Services, Products, Discounts — gets its own account and tax type.
Anything you leave on Use default simply inherits the default income account above, so you only override the categories you actually want split out. The row shows how many categories you've mapped, so you can tell at a glance whether overrides are in play.
Send gift cards, deposits and refunds to the right place
Gift cards, deposits and refunds aren't sales — they're money you owe a customer, or money paid back — so they belong in liability or contra-revenue accounts, not your income accounts. Open Gift cards, deposits & refunds to set them up. Skip the whole section if you don't sell gift cards or issue refunds.
Each of the three has a Use recommended button — the fastest way through. Tap it and Seglo creates a correctly-typed Xero account for you (for example "Gift Card Liability (Seglo)"), or, if an account with that name already exists, links to that one instead of making a duplicate. You can still pick any account from your own chart instead.
Two details worth knowing: Refund tracking is optional — leave it blank and refund credit notes inherit the original sale's account. And if you sell gift cards but never set the gift-card liability account, every gift-card purchase will land in Xero flagged as needing attention, so do set that one.
Choose which Xero bank account holds each payment
Open Bank account per payment method. This is what lets Seglo mark each invoice as paid against the correct account so it reconciles cleanly later. Each way customers pay — Cash, Bank transfer, Stripe (online card), Zeller (terminal) — maps to its own Xero bank account. Only the methods you actually accept appear in the list.
For each one you have three ways to fill it in: pick an existing account, tap Create to have Seglo build a clearing account named for you (for example "Stripe Clearing (Seglo)", linking to any same-named account rather than duplicating), or accept a Suggested account. That suggestion is the clever part — if you've installed Stripe's or Zeller's own Xero app, Seglo auto-detects the clearing account it created and offers it with one tap, so the two systems agree out of the box.
Decide which payments make it into the daily invoice
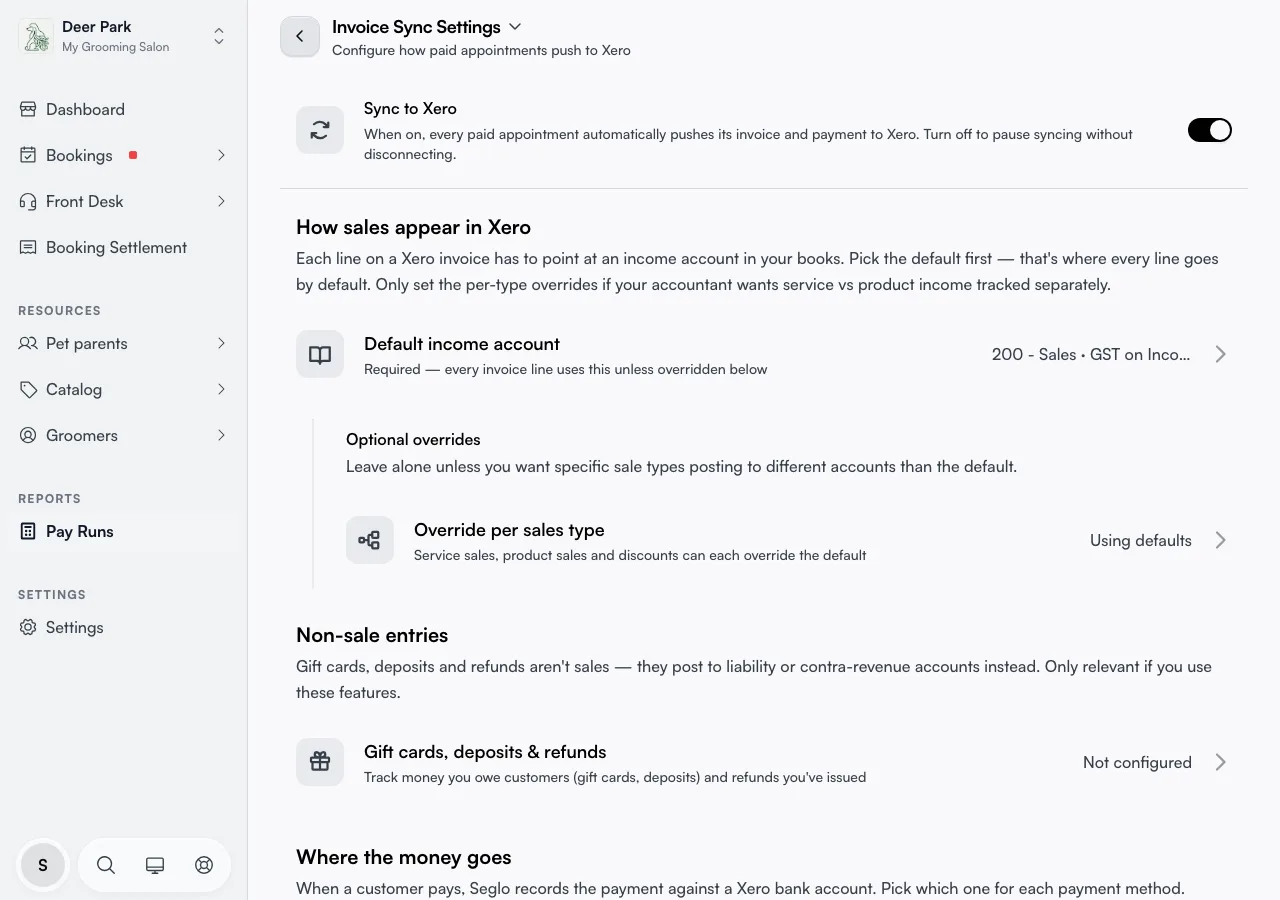
Open Payment Methods to filter what's included in the daily summary invoice. Most businesses include everything; some leave cash off so only card sales hit Xero. There are three checkboxes: Cash, Card (In-Person) and Online Payment.
One thing the labels don't show: Card (In-Person) quietly covers terminal payments and mobile tap-to-pay together — tick it once and all your in-person card takings are in, whichever device rang them up. Untick everything and nothing's selected, so leave at least one on.
Format the invoice number and due date
Two small controls shape how each invoice reads in Xero:
- Invoice Prefix — an optional tag added to the front of every invoice number, up to 10 characters. The drawer shows a live preview (type
SEG-and you'll seeSEG-001). Leave it blank for no prefix. - Invoice Due Date — how many days after the invoice date payment is due. Tap a preset (Same day, 7, 14, 30) or type any number up to 365. Set 0 for sales already paid at the appointment, which is most of them.
Hide fully-discounted bookings
The Skip $0 Invoices toggle, at the bottom, is on by default. With it on, a booking that comes to zero — fully discounted, or covered entirely by a gift card — isn't sent to Xero as a real invoice, keeping your ledger free of empty lines. Turn it off only if your accountant wants every booking represented, even the free ones.
Tips
- Nothing applies backwards. Point Seglo at a new account and only future invoices use it — invoices already in Xero are untouched. To fix a synced day, edit it directly in Xero.
- The recommended buttons never duplicate. "Use recommended" and "Create" both link to an existing same-named account if there is one, so you can tap them safely without cluttering your chart.
- An invoice flagged "needs attention" in Xero usually means a required account is unset or was archived in Xero. Open Xero payment sync to find the failing entry, fix the account here, then retry.
- A blank tax type won't override a Xero account that's tax-inclusive by default. Fix the tax setting on the Xero account itself.
- Deposit liability is for a feature still rolling out — setting it now does no harm, but it isn't used until the deposits flow goes live.
Related
- Xero integration — connection, clearing accounts, and refund behaviour.
- Xero sync timing — when invoices reach Xero and how clearing accounts work.
- Xero payment sync — monitoring and retrying entries that need attention.