
Appointment requests
Vet every booking before it takes a slot — accept or decline each pending request and clear the urgent ones first.
Updated 19 July 2026
When you review bookings before confirming them, this is the queue where every pending request waits for your yes or no — it never touches your calendar until you decide. Your job here is to clear it each shift so no customer is left hanging and no slot sits half-held.
Open in app: Appointment requests
This page only fills up when Manual Approval is on. If your business confirms every booking automatically, it stays empty — turn approval on under Settings → Booking Settings, covered in Appointment settings.
Looking for confirmed bookings with no staff assigned? Those are handled on the Schedule — an Unassigned panel appears on the right when any pet or appointment needs a staff member, and you can drag a card into a lane to assign it. See Schedule for details.
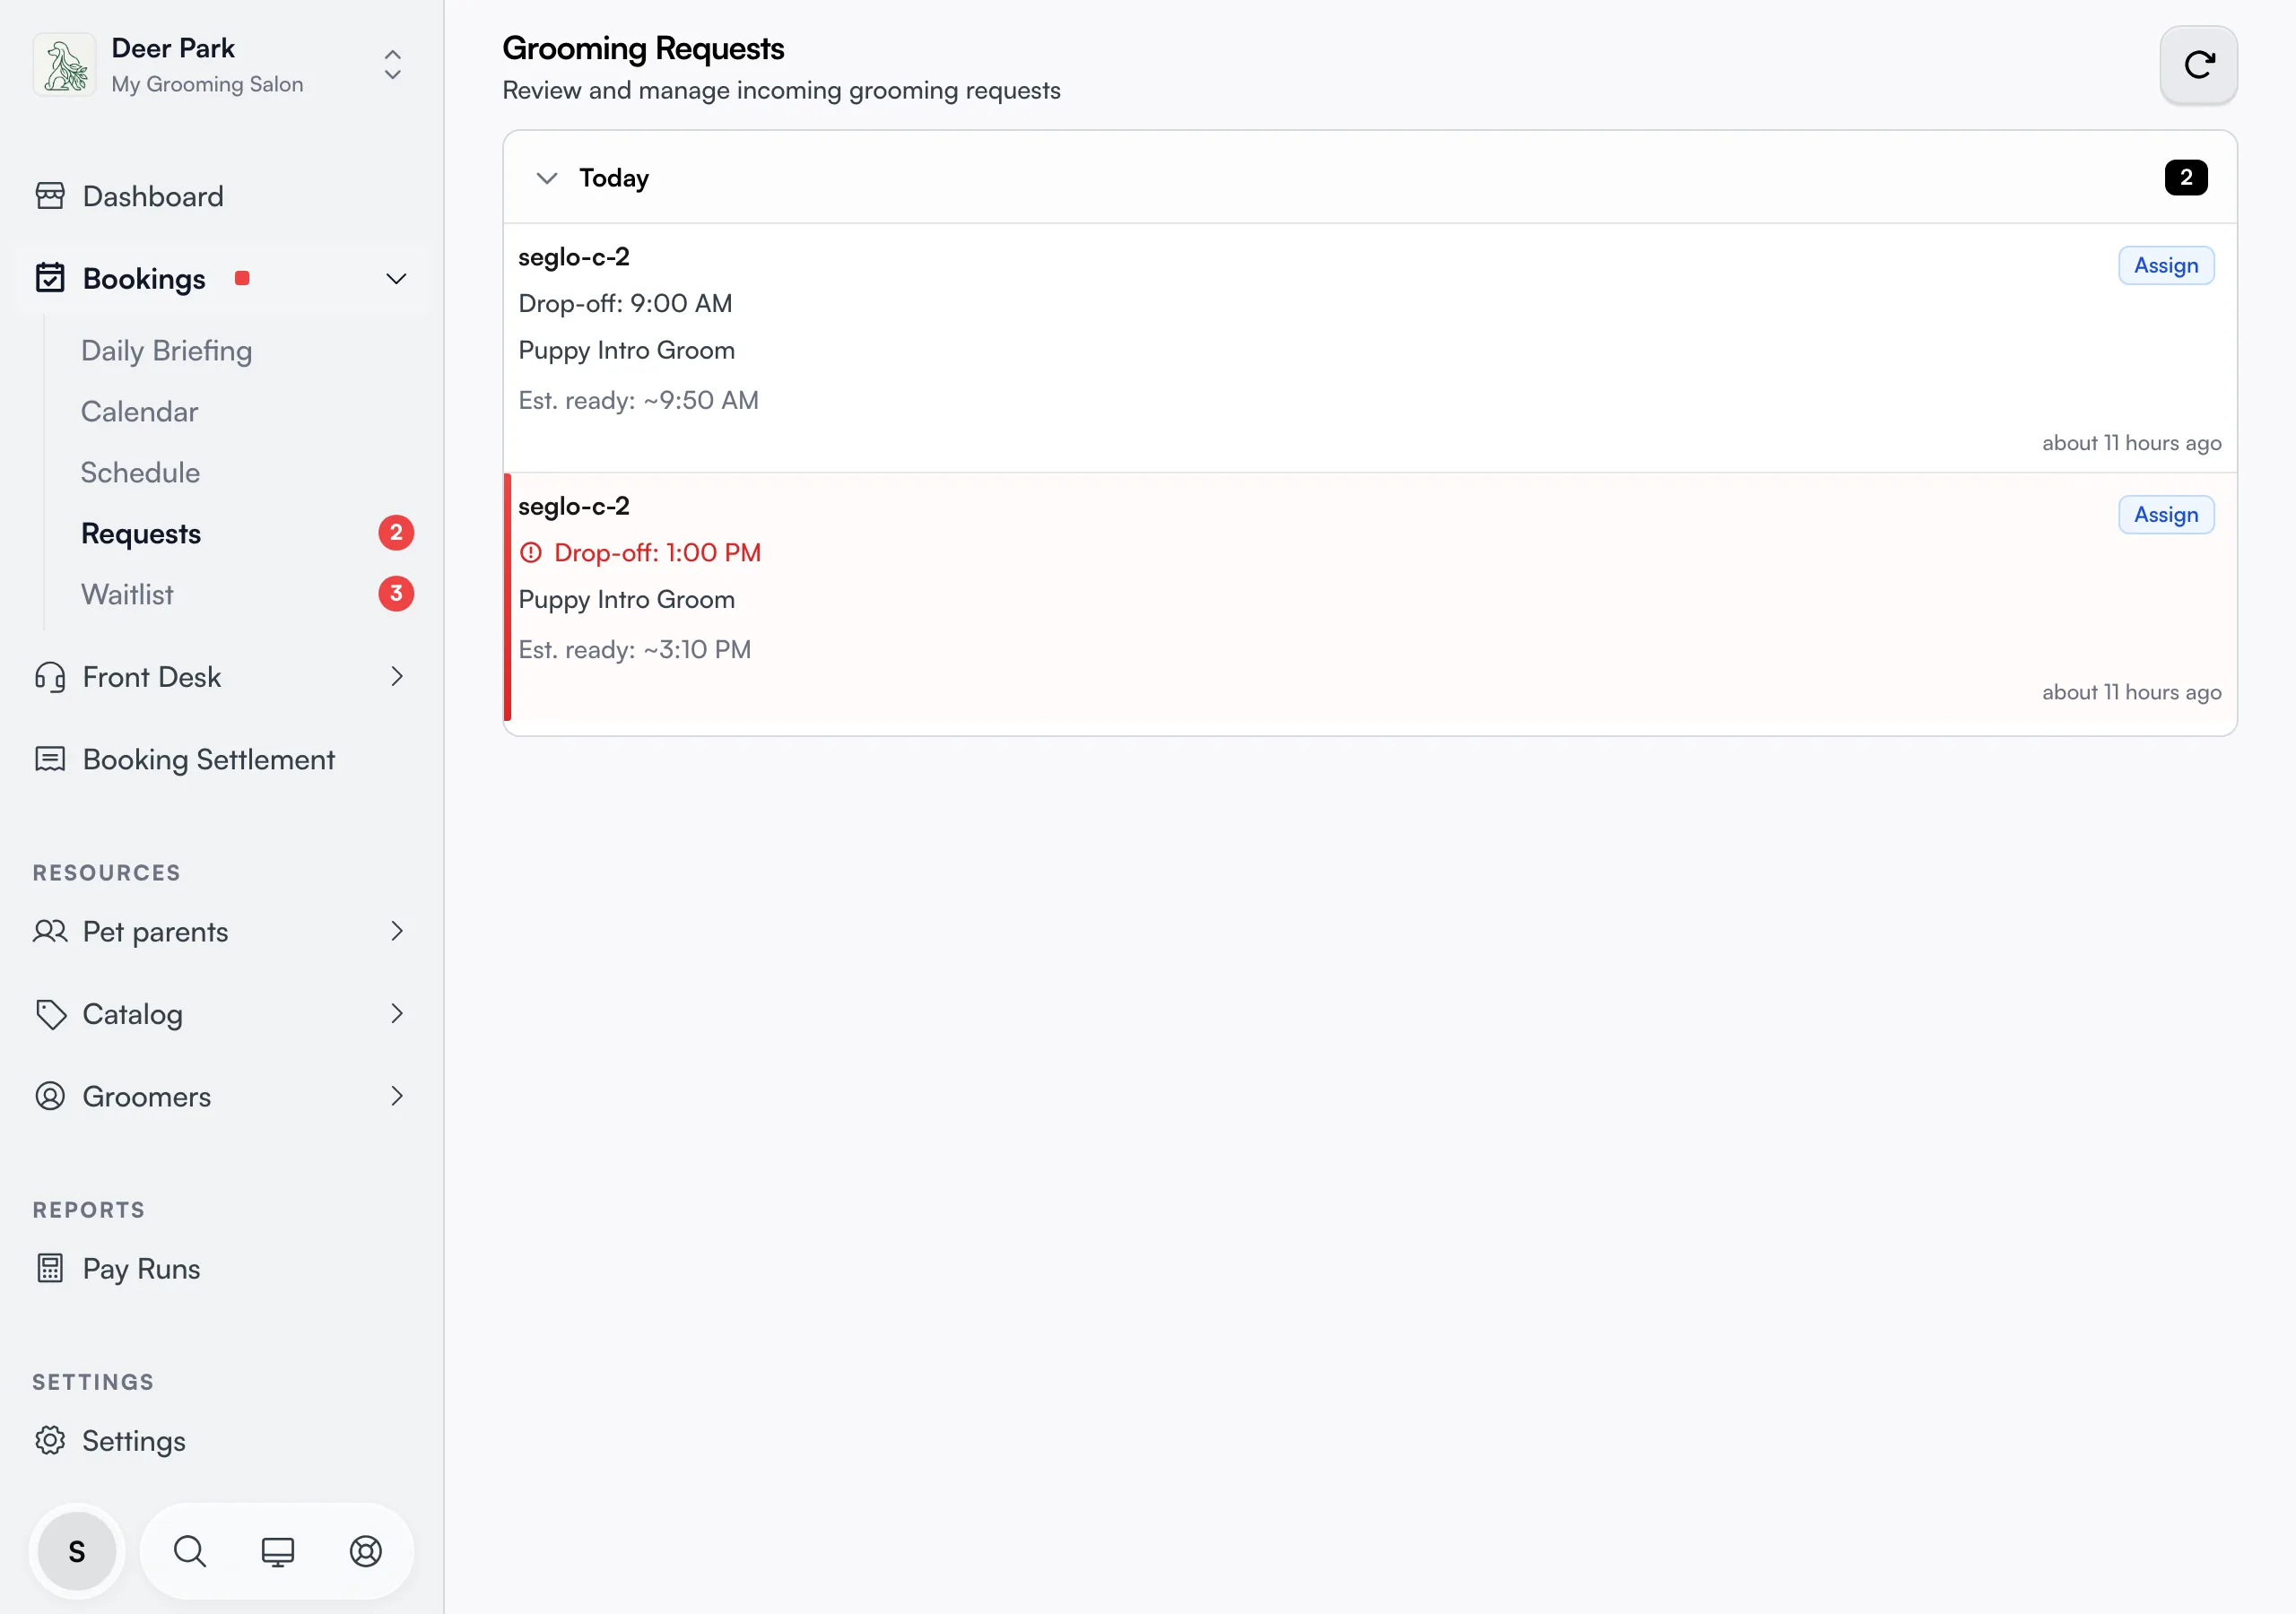
Work through the queue, soonest bookings first
Open Bookings → Requests in the left navigation. The list is a single table sorted by the booking's start time, soonest first, so the most time-sensitive work is always at the top — there's no separate grouping or collapsing by date.
Each row shows the customer, the time, and the services, plus a Confirm tag showing it's waiting on your decision. A column on the right ("2 hours ago") tells you how long the customer has been waiting.
Catch the ones about to walk in
Any request starting within the next two hours is flagged with a warning icon and red-highlighted time next to it. These are the bookings where a slow reply costs you the customer, so the page surfaces them on purpose. Handle those rows before anything else, even if they're lower down the list.
Accept or decline a request
Click anywhere on a row to open its full detail. Use Accept to confirm — the booking drops onto your calendar and the slot is now theirs. To turn a request down, open the ⋯ menu and choose Cancel booking — the slot is released. Notifying the customer by email is an opt-in toggle in that dialog (off by default), so tell them yourself if you want them to know.
Accepting is safe to repeat: if a request was already confirmed (say a teammate got there first), tapping Accept again simply does nothing rather than double-booking.
Handle drop-off requests
If a request is a drop-off rather than a fixed appointment, the row shows it differently: a Drop-off time instead of a start–end window, and the service duration in brackets. Open the row's detail to see the Est. ready time. Everything else — accept, decline — works the same way.
Pull in requests that arrived while you were looking
The page refreshes itself about once a minute, but if you're mid-shift and want the latest right now, use the refresh button in the top right. New requests also raise the number badge next to Requests in the left navigation and a banner on your dashboard, so you're nudged even when you're on another page.
Tips
- A request that's run past its time gets an "Expired" tag but doesn't vanish right away. It stays in the list (so you still have to act on it) until its whole booked day has passed — only then does it drop off the page and the sidebar count on its own. You don't have to clear old ones by hand, but it also means a request you ignored can sit there tagged Expired, so check the page each shift rather than waiting for it to remind you.
- Declining never refunds a payment. If the customer paid when they requested, refund it separately from the booking detail or the payments page — cancelling the request only releases the slot.
- Your cancellation policy applies after you accept, not before. Declining a pending request charges nothing. Once you accept and the customer later cancels late, Booking policies decide the fee.
- Turn on the pending-requests reminder under Settings → Notifications so staff hear about new requests as they land, instead of discovering a stale queue at the start of the next shift.
- Need to assign a staff member after accepting? Once a booking is confirmed, head to Schedule — the Unassigned panel shows confirmed bookings with no staff, and you can drag each one into a lane to assign.
Related
- Appointment settings — turn Manual Approval on or off and set the response timeout.
- Schedule — where confirmed-but-unassigned pets are managed after you accept a request.
- Appointment calendar — where accepted requests land.
- Booking policies — cancellation and no-show rules that apply once a request is accepted.
- Waitlist — for customers waiting on a slot that isn't open yet.