
Team members
Add your people, give them a position, control exactly what each one can do, and handle the leaver edge cases — from one team list.
Updated 19 July 2026
Every appointment on your calendar belongs to one of these people, and no service can be booked until someone skilled is on the calendar to do it. This is where you add your staff, decide who customers can book, control what each person can see in the app, and deal with the awkward parts — a leaver who still has appointments, a hire who can't be booked yet.
Open it from Team in the left navigation. If your trade has its own word the label follows it — a pet-grooming business sees Groomers — but the page is identical underneath.
Open in app: Team members
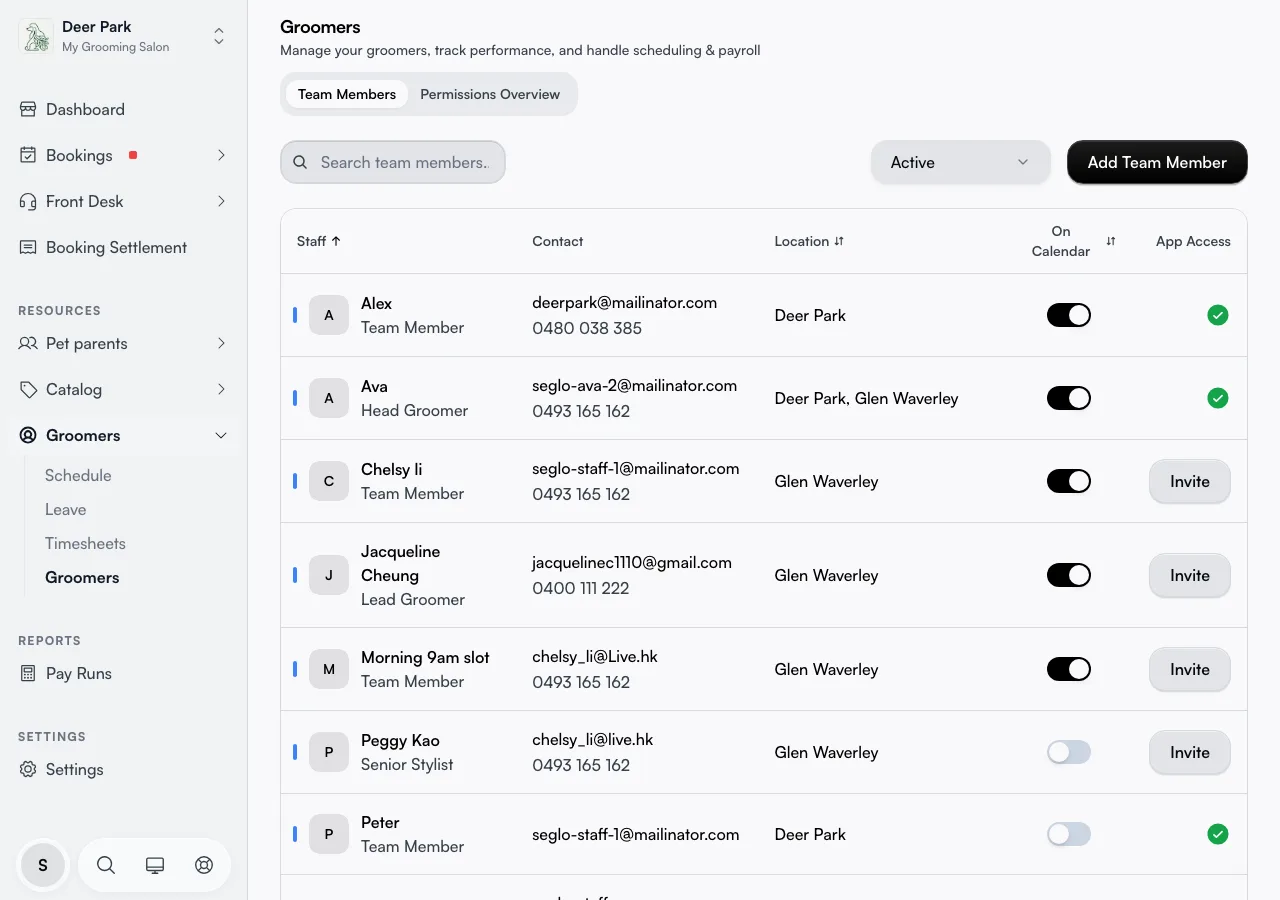
Add someone in under a minute
Click Add Team Member. Only the Name is required — everything else can wait. Add an Email if you want them signing into the app later (it's optional, and the field says so). Tick at least one Store Location; the first one is pre-ticked for you, and a member with no location can never be made bookable.
Click Create Member. If you gave an email, an Invite step opens right away so you don't have to come back for it.
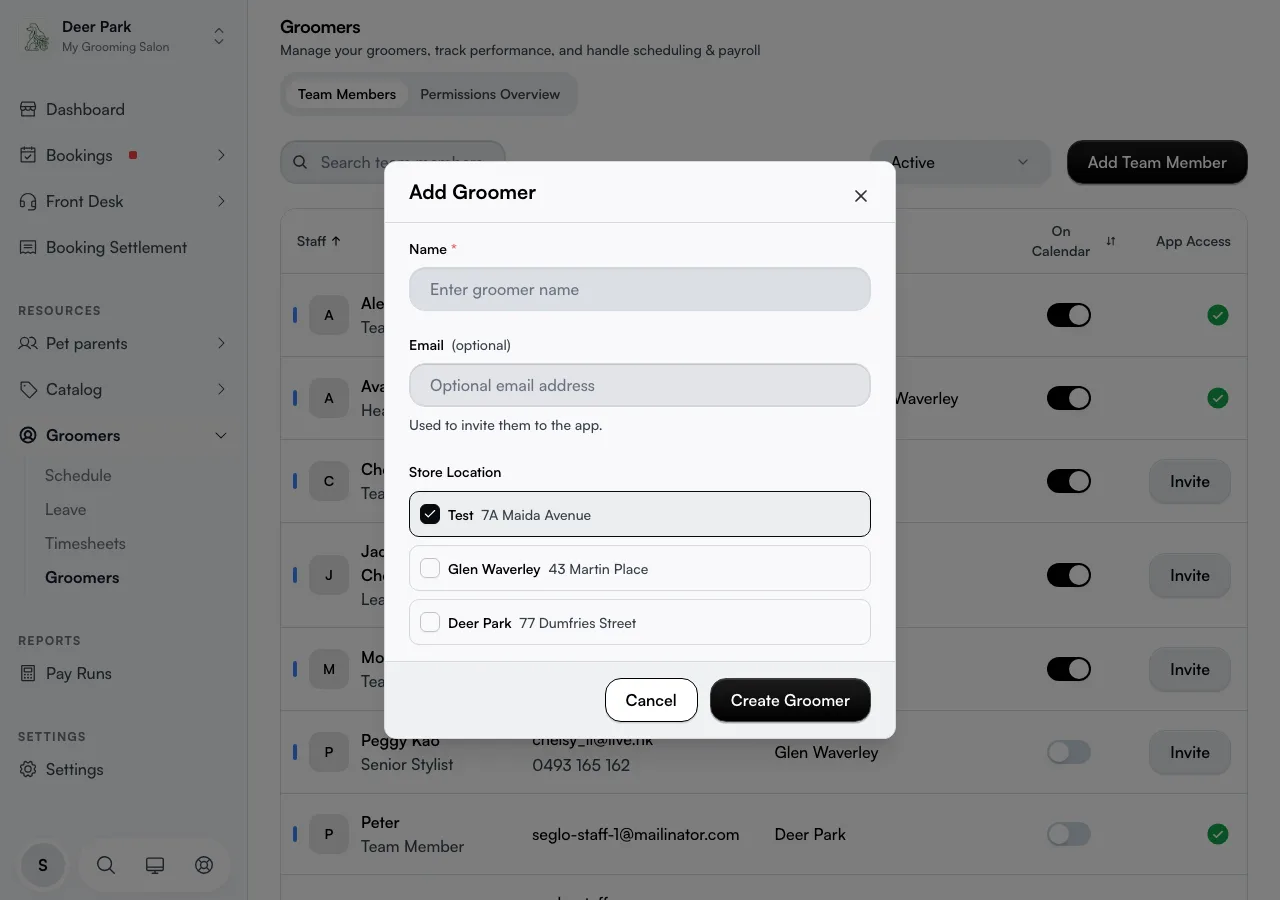
Give them a Position — bookability comes from it
Every team member holds one Position, picked from the same selector wherever it appears — right on their row, or on the Personal tab when you open their record. A position is the job they do, and what it does for scheduling depends entirely on whether it's linked to a scheduling role — there's no separate "make them bookable" switch anymore:
- Groomer-linked position — needs a skill, gets a calendar column, customers can book them. This is what the old "On Calendar" switch used to control.
- Assistant-linked position — works behind the scenes. Never bookable, never shown to customers, but once rostered they free up time for your bookable staff automatically.
- A pure title (Manager, Receptionist, Owner, or anything with No scheduling role) — just a label, no scheduling effect.
Positions themselves are set up once, business-wide, on Settings → Resources → Positions — see Resources. Day to day, you just pick one from the list here.
Adding someone does not put them on the calendar by itself. Three things must all be true, or customers won't see them:
- Assign a Groomer-linked position. Pick it from the Position selector on their row.
- Assign skills. Open the member, go to the Skills tab, and tick the service variants they perform. A service with no skilled, bookable person simply can't be booked by anyone — so this is usually the missing piece. Use Select All to tick a whole category at once, and the category pills show a running "selected / total" count.
- Give them a location (done at add time, or on the Personal tab).
The Position selector doubles as a quick-create box: type a name that isn't in the list yet and a Create "…" option appears — pick it to create and assign that position in one step, even if your business has no positions at all yet. It's created as a pure title (no scheduling role) at first; link it to Groomer or Assistant afterwards on Settings → Resources → Positions if it should affect bookability.
Reassigning someone away from a Groomer-linked position doesn't touch their existing appointments — only new bookings are affected. If they still have upcoming appointments, the save warns you with a count so you can reassign or complete those first.
To set the hours they actually work, see Staff schedule; the Overview tab shows a read-only summary of that weekly availability.
Pick the right role when you invite them
When you invite someone you choose how much of the app they get. The four built-in roles are not just labels — each grants a real set of permissions:
- Receptionist — book appointments and manage client info (view, add, and edit).
- Staff Member — manage appointments and clients, and view their own timesheets.
- Manager — broad access to almost every feature, short of pay finalisation/integrations and business settings — those stay owner-only by default.
- Custom — you switch individual permissions on by hand (see below).
Send the invite from the add flow, or later from the Invite / Resend button on the member's row. After they accept, set a password, and finish a short welcome flow, the App Access column turns to a green tick. An invite that never arrives is almost always a typo in the address or a spam filter — fix the email and resend.
The mobile app (iOS/Android) is for business owners and accepted staff only. If a staff member tries to sign in on the mobile app before accepting their invite, they'll see a message saying the app is for business owners and staff and their sign-in will be blocked. The fix is simple: have them accept the invite first (from the email link), then sign in to the mobile app. A pending invite that hasn't been accepted does not grant mobile access.
Build a custom permission set (advanced)
Choosing Custom for the booking app opens a full permission tree on the Permissions tab. Permissions nest — a Page-level toggle (blue tag) covers everything under it, and Section-level toggles (green tag) narrow it down — so you can give someone the appointments page but hold back the parts you don't want them touching. Expand a row with the caret to see what sits inside it.
The same tab controls three separate things you can switch independently:
- Booking App — the calendar, appointments, and clients. The role buttons live here.
- Phone App — making and receiving business calls. Off unless you turn it on.
- Privacy & Security — access to sensitive client data (PII). This is its own switch on purpose, so a junior can use the booking app without seeing private client details.
You must enable at least one app before the person can be invited. Change a permission after they've joined and it can take up to an hour to fully apply — for an instant effect, ask them to sign out and back in.
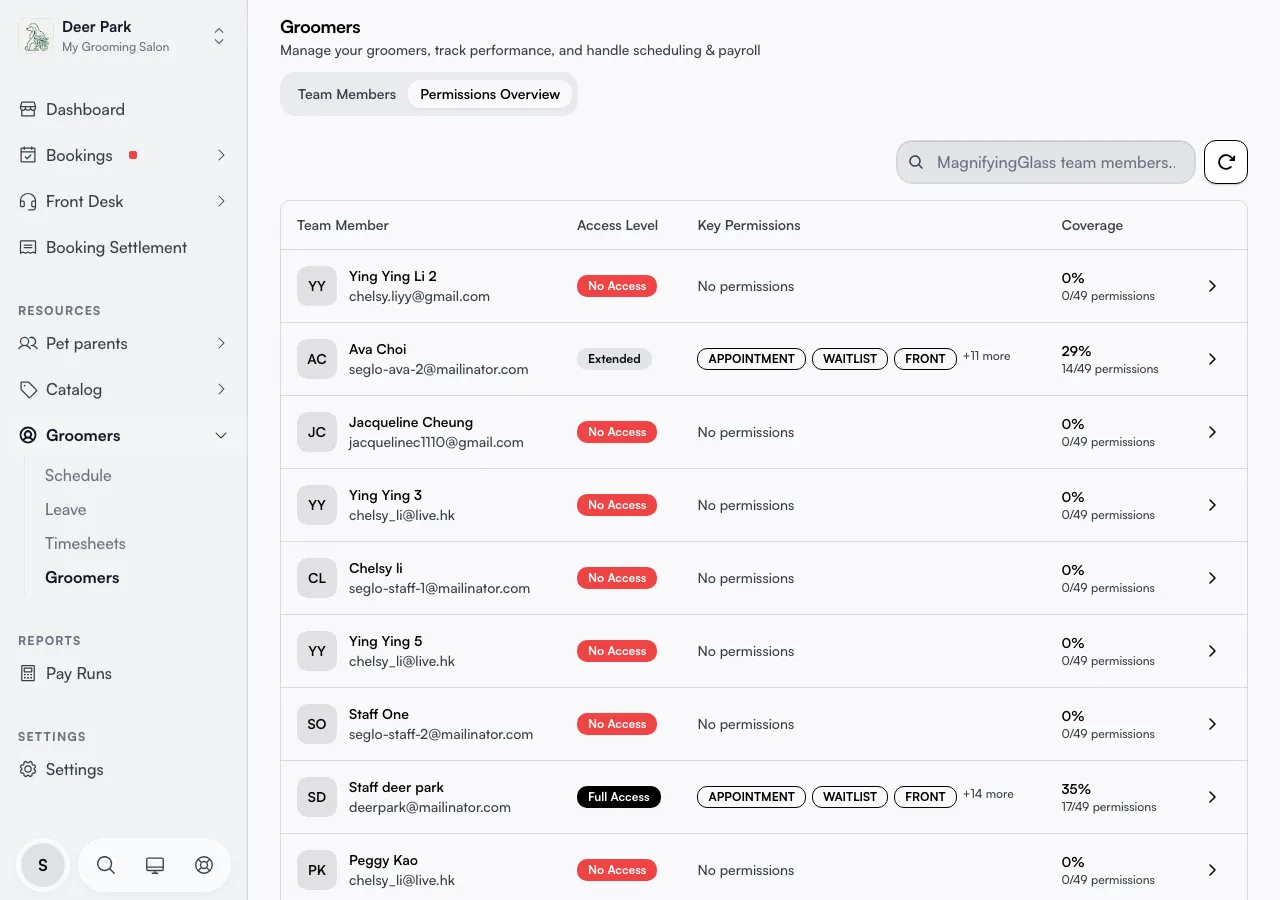
See everyone's access at a glance
Open the Permissions Overview tab for a single view of every member's access level side by side, plus the share of permissions each one holds. Use it to catch a new hire still sitting with no access, or to confirm a manager actually has what their role needs.
Give each person a calendar colour that stands out
On the Personal tab you can set the colour that marks this person's appointments on the calendar, upload a photo, and fill in contact and address details. When you pick a colour, any shade already used by another team member is flagged, so two of your staff don't end up with near-identical stripes on a busy day.
Schedule a pay rate or raise for a future date
The Employment tab is more than a status box. Set a Hired date first (it's required before any pay rate, and required to mark someone Active). Then Schedule a change to record an hourly rate, commission percentage, or salary — with an optional reason — that takes effect on a date you choose. Future-dated changes show up as Upcoming changes with a countdown, and you can delete one before it lands. For staff paid hourly, a Require clock-in option appears so their pay is calculated from real clocked hours.
Put someone on leave, suspend, or terminate them
The status filter at the top of the list (Active by default) switches between Active, On Leave, Suspended, Terminated, and All Statuses, so a leaver stays out of your way until you need their history. Change the status itself on the member's Employment tab.
Terminating is a deliberate, guarded action. It revokes app access, stops any new work being assigned, but keeps all their past data for your reports. Upcoming appointments are unassigned automatically as part of the termination. If the person still has open clock-ins, unpaid payroll, or pending adjustments, the app blocks the termination and lists exactly what's outstanding — with a one-tap Clock Out All button to clear that blocker on the spot, then Retry.
Remove someone for good (and why you often can't)
The Overview tab has a Danger Zone to delete a member outright. The same blocker check applies: open clock-ins, unpaid payroll, or pending adjustments block the delete, and upcoming appointments are flagged (they get unassigned automatically). In almost every real case the right move is to terminate instead, not delete. Terminated staff drop off the calendar while every historical report stays intact.
Tips
- "Why can't customers book Sarah?" — three things must all be true: a store location, at least one service skill, and a Groomer-linked position. It's usually the missing skill.
- An Assistant position is deliberately never bookable — that's not a bug. It only helps once the person is rostered; it frees up your groomers rather than taking bookings itself.
- A permission change isn't instant — allow up to an hour, or have the person sign in again to force it through.
- Privacy & Security is a separate switch. Someone can run the booking app all day without ever seeing private client data unless you turn that one on.
- Can't delete a leaver? You're not meant to — terminate them. The block exists to protect their booking and pay history.
Related
- Staff schedule — the recurring hours behind the Overview tab's availability summary.
- Staff welcome — what a new hire completes on first login before they get access.
- Service catalog — services only appear once a skilled, bookable person can do them.
- Appointment calendar — where each member's colour and column show up.
- Fit more bookings with helpers — set an Assistant position and step sequence to free your groomers and fit more bookings.